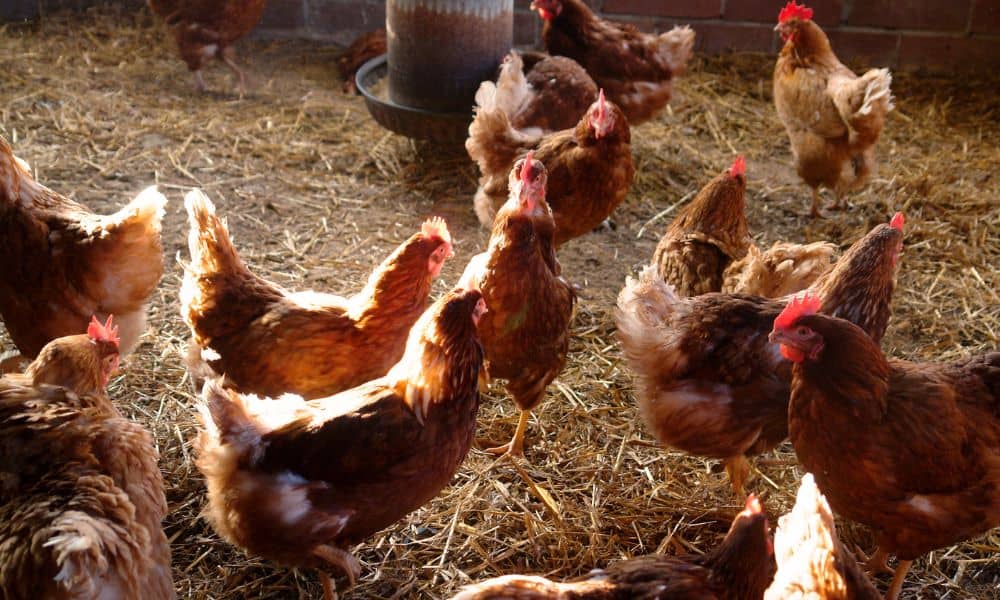
Most people carry a preconceived conception that chicken coops just stink. But, so long as you take the right precautions, we know that’s simply not the case!
If you’re planning a deep clean of your chicken coop housed on a dirt floor, then you’re going to want to do it properly. No half-effort attempts here.
Although it seems like a daunting task, it’s quite easily done once you prepare and tackle one step at a time.
You’ve come to the right place.
Here’s what you’re going to need, an outline of the deep bedding technique, and exactly what to do to thoroughly and reliably clean your chicken coop with a dirt floor.
Contents
What You’ll Need To Clean A Dirt Floor Coop
When you’ve finally finished procrastinating the first step is making sure you’ve got all the necessary tools and supplies ready.
Believe me, you don’t want to be halfway through the process and realize you haven’t gotten enough bedding or the right cleaning supplies!
Get yourself:
- A shovel
- A rake
- A mask & gloves
- Heavy-duty scrub brush (for roost, nesting boxes, etc.)
- Animal-Safe disinfectant/Soap
- Replacement bedding (Straw, Shavings, Pine Needles, etc.) – and lots of it!
Yup, now’s the perfect time to start using the deep bedding method if you aren’t already using it. This means you need to get enough bedding to allow you to place a 4 – 6 inch thick bedding across the floor of your coop!
The Basics Of The Deep Bedding Method
So why are we going to all this effort?
Well, the deep bedding (or deep litter) method is simply the most effective way at keeping the floor of your coop naturally clean and odorless and it comfortably lasts up to 3-6 months at a time.
The process involves:
- Placing 4 – 6 inches of bedding across the entire coop floor
- This bedding acts as a natural filtration system, where any droppings are filtered through and end up on the bottom.
- These droppings mix with the bedding and dirt and start composting.
- The extra absorbency from the deep bedding also helps draw all moisture from any droppings, preventing any bad bacteria growth.
- Because it stays naturally clean, it only really needs a good deep clean and change every 3 – 6 months!
This deep bedding method goes back years and years, and has been a traditional approach to keep chickens safe, warm, and comfortable in their coop.
The added benefit: when you finally do a deep clean of your coop, you’re left with a bunch of perfectly good compost for your garden!
Why The Deep Bedding Method Is Perfect For Dirt-Floored Coops
Although it’s a fair bit of effort to set it up initially and when it comes to replacing it every 3 -6 months, it far outweighs the otherwise constant effort it is to clean your coop on a weekly or biweekly basis.
Compared to other methods of keeping chicken on dirt floors, the deep bedding method:
- Keeps your coop warmer in winter through added insulation from the ground.
- Has natural filtration and the moisture absorption effectively removes any unwanted odor.
- The extra absorbency helps keep things extremely dry and clean.
- It’s extremely economical, only needing to replace it twice a year.
- AND if you clean it out after winter, you’ve got yourself some amazing compost ready for the spring.
How To Clean A Chicken Coop With A Dirt Floor
Once you’ve committed to cleaning your coop – here are the five steps you can tackle to get the job done right.
These steps can be replicated whether you’re using the deep bedding method, or any normal bedding method too!
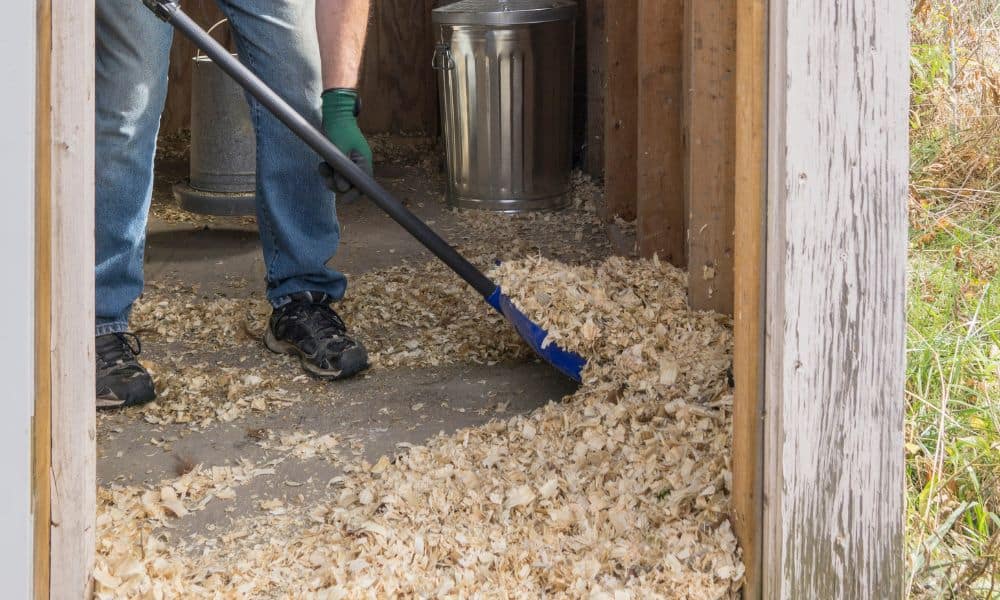
1. Remove All Bedding & Debris From Your Coop
The first step is arguably the toughest. But, with a bit of elbow grease and some persistence, you can get it done and out of the way.
First, remove all your chickens from the coop and keep them somewhere they won’t come back and get in your way. Then, mask up and put on some gloves.
Now, using a shovel, spade, or rake, remove all the existing bedding, any debris, or anything else in the coop.
2. Deep Clean Every Part Of Your Coop
Once the coop is bare of bedding and everything else, it’s time to start a nice, deep clean of all the surfaces, floors, roosts, nesting boxes, windows, etc.
Use a strong soap or disinfectant to clean any surface inside the coop including any corners or cracks where mites or other pests could be calling their home.
3. Mix & Turn Over The Bottom Layer Of Dirt
Once you’re satisfied everything is clean, you can prepare to start placing your bedding back.
But, one step I’ve found particularly effective is loosening the bottom layer of dirt. Simply get a rake or shovel and scrape the top one inch of dirt from the bottom layer, turning it over and loosening it slightly.
This loosened layer of dirt will further help the filtration process and make sure the bottom layer of dirt is clean and fresh.
Avoid using garden lime if you’re using the deep bedding method, as it kind of defeats the purpose as it prevents this safe composting.
4. Place 2 Inches Of Used Bedding Back (If Using Deep Bedding Method)
Now here’s a vital step, should you have used bedding and are applying the deep bedding method, that is.
Placing the composted used bedding back as the bottom 2 inches keeps the healthy compost-ready bacteria alive.
This means, even after you add fresh bedding back on top, the lower levels will be ready to “clean” and compost any new droppings to come.
5. Add The New Bedding On Top
Take a sigh of relief. The hard parts are over and you’re on the home stretch.
Simply take your bedding and spread it over your coop’s floor so that it comes to 4 – 6 inches thick. (or 1-2 inches thick if you’re not using the deep bedding method).
After it’s nice and evenly spread, you can start to place anything else you’ve removed during this cleaning process (including your chooks!)
For a full outline of the deep bedding process from start to finish, it’s well worth watching Swedish Homestead’s comprehensive video.
How Often To Clean Coop On A Dirt Floor
Depending on how you’ve set up your dirt-floored coop, you’ll either need to do some pretty regular cleaning maintenance, or you’ll be able to leave it for a whole season while it “clean’s itself”.
You’ll have to clean your coop on a dirt floor:
- Without Deep Bedding: Roughly 2 weeks.
- With Deep Bedding: Roughly 3-6 months.
The same can be said for coops housed on gravel too.
Of course, these time frames can differ depending on the size of your flock, the size of your coop, the season, and how dry the coop remains.
It Is Safe To Keep Chickens On A Dirt Floor?
While every coop may be different, it’s absolutely safe to keep your chickens on a dirt floor, whether it’s in their coop or their run.
Of course, no matter what kind of flooring you’ve got, it’s vital that you keep it clean.
So although it’s safe to simply keep your chooks on dirt itself, it’s much more efficient, clean, and comfortable if you apply the deep bedding method on top of the floor.
Quick Summary
Unlike our houses which need to be cleaned on a weekly basis, the deep bedding method allows the coop to remain perfectly clean and suitable for your chickens for up to 3-6 months.
The only downside is that it does take a bit of effort on your part to give it a deep clean every 3 – 6 months!
Whether you’re using the deep bedding method or not, the easiest way to clean your coop with a dirt floor is to:
- Step 1: Remove All Bedding & Debris From Your Coop
- Step 2: Deep Clean Every Part Of Your Coop
- Step 3: Mix & Turn Over The Bottom Layer Of Dirt
- Step 4: Place 2 Inches Of Used Bedding Back (If Using Deep Bedding Method)
- Step 5: Add The New Bedding On Top